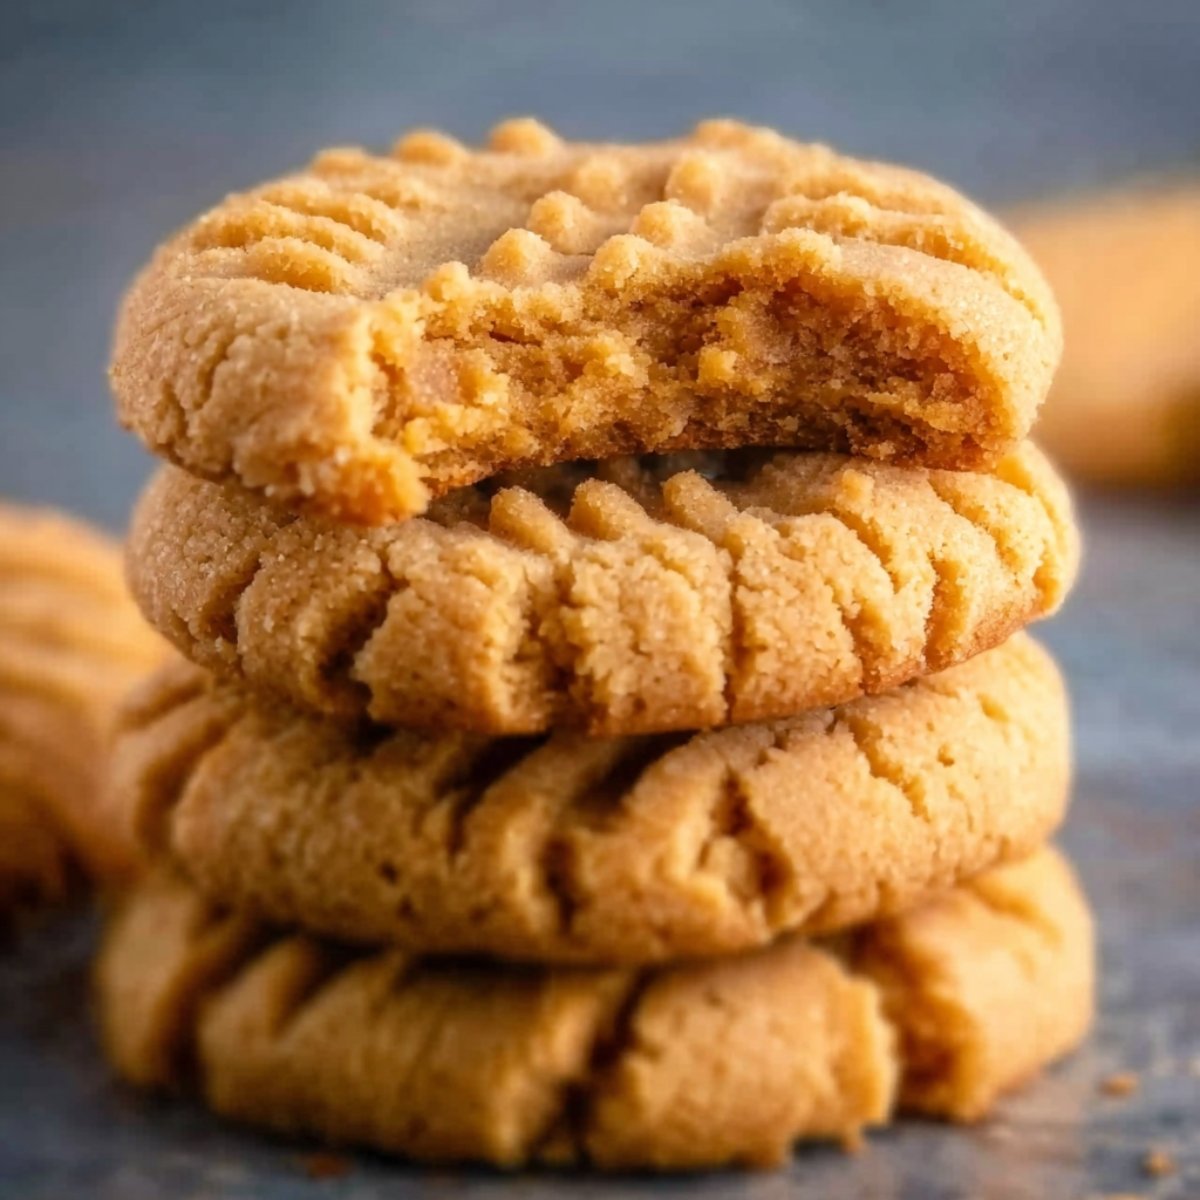
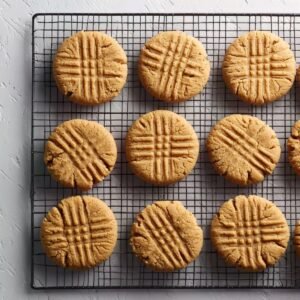
These soft, chewy peanut butter cookies have that perfect crisscross pattern on top and a rich, nutty flavor that melts in your mouth. I started making these during college when I craved something sweet but didn't have much in my pantry, and they've been my go-to ever since. The best part? They're incredibly simple to make with ingredients you probably already have on hand.
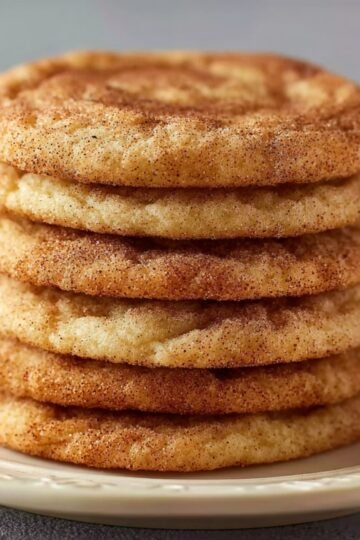
If you love easy dessert recipes, you'll also want to try my Best Chocolate Chip Cookies Recipe and Healthy Fudgy Brownies Recipe for your next baking day.
The smell of these cookies baking always reminds me of after-school snacks and lazy Sunday afternoons.
Why You will Love This Peanut Butter Cookies !
This Peanut Butter Cookies delivers bakery-quality results without any fuss. The cookies come out tender in the middle with slightly crispy edges, and that signature fork pattern isn't just for looks it helps them bake evenly. You don't need fancy equipment or hard-to-find ingredients, just a bowl, a fork, and about 30 minutes of active time.
The dough chills in the fridge, which makes it easy to work with and gives the flavors time to develop. These homemade peanut butter cookies taste like the ones from your childhood, only better because you made them yourself.
Jump to:
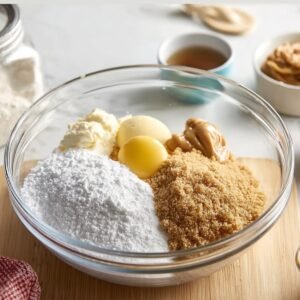
Peanut Butter Cookies Ingredients
Here's everything you need to make these easy peanut butter cookies from scratch.
See Recipe Card Below This Post For Ingredient Quantities
Granulated sugar: Sweetens the dough and creates a slightly crispy exterior when the cookies bake.
Brown sugar: Adds moisture and a deeper, caramel-like sweetness that keeps the cookies soft and chewy.
Peanut butter: The star ingredient that gives these cookies their rich, nutty flavor. Use regular creamy peanut butter for the best texture.
Shortening: Helps the cookies hold their shape and creates a tender crumb.
Salted butter, softened: Adds richness and flavor. Make sure it's at room temperature so it creams smoothly with the sugars.
Egg: Binds everything together and adds moisture to the dough.
Gold Medal™ All Purpose Flour: Forms the structure of the cookies. All-purpose flour works perfectly for soft, chewy peanut butter cookies.
Baking soda: Helps the cookies rise and spread just the right amount.
Baking powder: Works with the baking soda to give the cookies a light, tender texture.
Salt: Balances the sweetness and brings out the peanut butter flavor.
Additional granulated sugar for rolling: Used to coat the fork for making the classic crisscross pattern without sticking.
HOW TO MAKE Peanut Butter Cookies
Follow these simple steps to make perfect peanut butter cookies every time.
- Mix the wet ingredients: In a large bowl, beat together ½ cup granulated sugar, brown sugar, peanut butter, shortening, softened butter, and egg using an electric mixer on medium speed, or mix with a spoon, until smooth and well-blended. The mixture should look creamy and lighter in color.

- Add the dry ingredients: Stir in the flour, baking soda, baking powder, and salt just until combined. Be cautious not to overmix to ensure the dough stays light and fluffy. It's okay if you see a few small streaks of flour.
- Chill the dough: Cover the dough with plastic wrap and refrigerate for about 2 hours or until firm. To test, scoop and roll the dough into a ball—it should be cold enough to shape easily. If it's too soft, chill for another 30 minutes and check again.
- Preheat and shape: Preheat your oven to 375°F. Shape the dough into 1 ¼-inch balls and place them about 3 inches apart on an ungreased cookie sheet. Keep the remaining dough balls chilled while baking to prevent spreading too quickly.
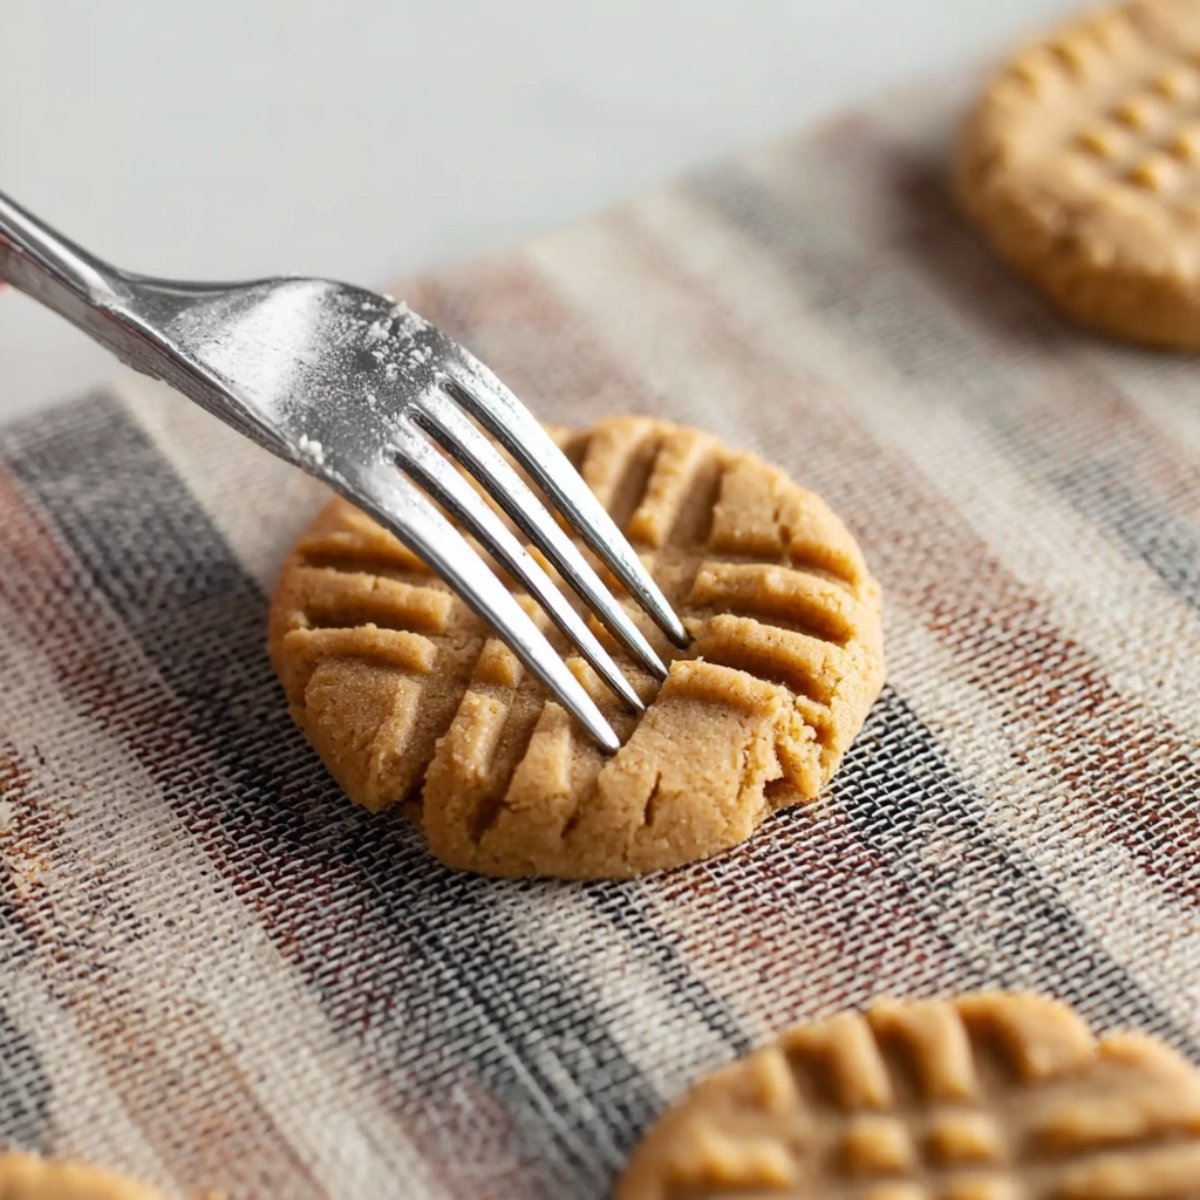
- Create the crisscross pattern: Pour additional granulated sugar into a small bowl. Dip a fork into the sugar and use it to flatten each cookie ball in a crisscross pattern. Re-dip the fork as needed to prevent sticking. Discard any leftover sugar.
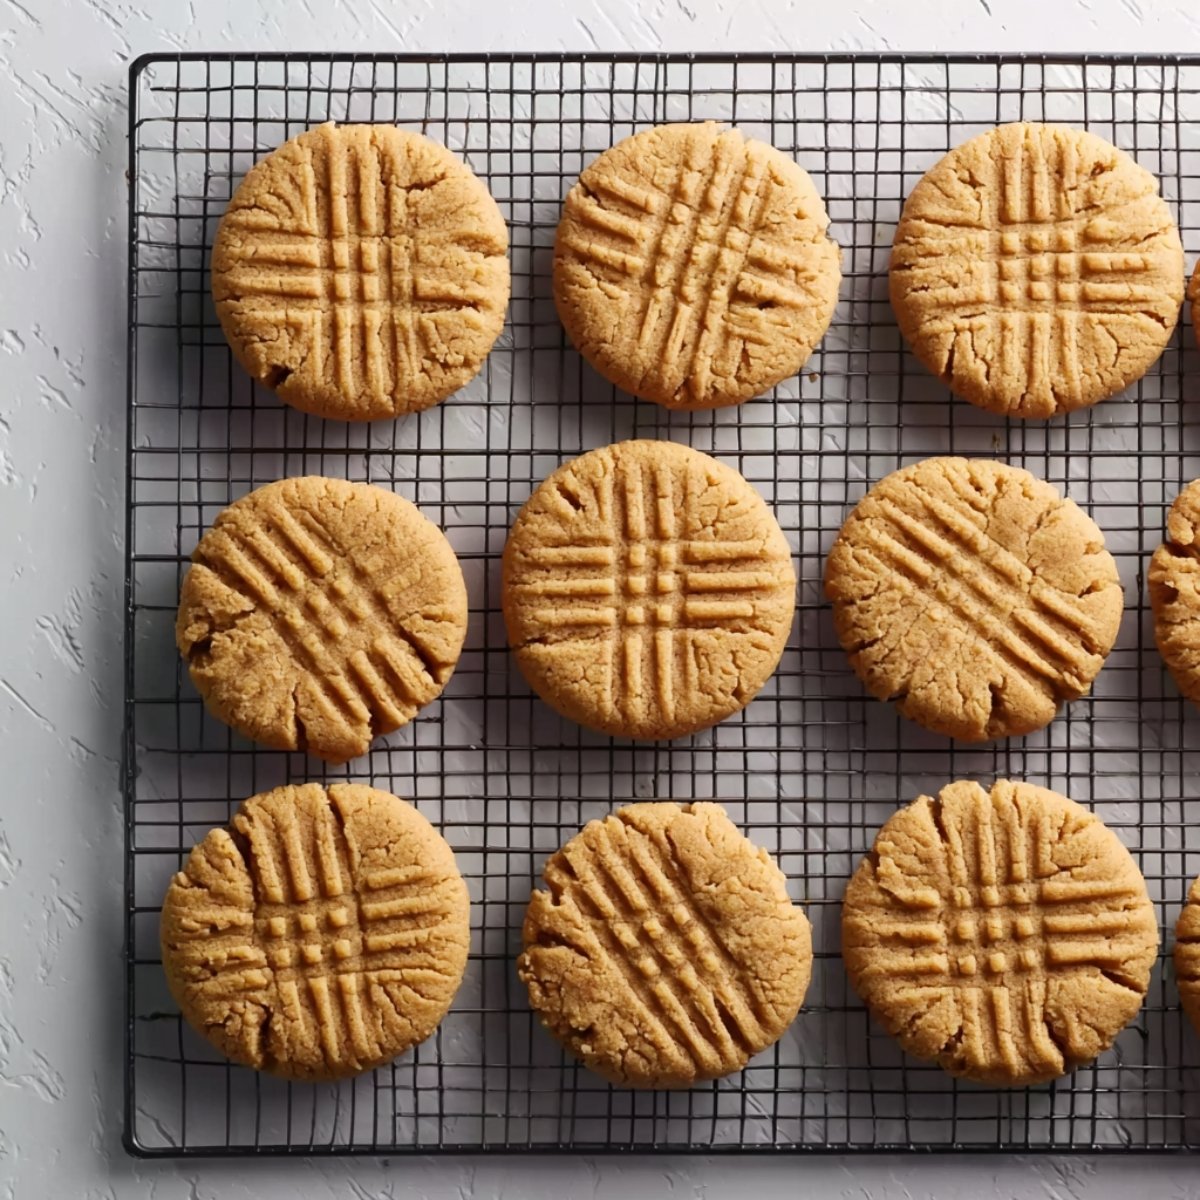
- Bake: Place the cookie sheet in the middle oven rack and bake for 9 to 10 minutes, or until the cookies are light golden brown. The centers might look slightly underdone, but they'll firm up as they cool.
- Cool on the sheet: Cool on the cookie sheet for 5 minutes before transferring to a cooling rack. This resting time helps the cookies set without breaking.
- Cool completely: Allow cookies to cool completely for about 30 minutes. Store in an airtight container to keep them soft and fresh.
Substitutions and Variations
Different nut butters: You can swap the peanut butter for almond butter or cashew butter if you want a different flavor. Just keep in mind the texture might change slightly.
Sugar options: If you only have white sugar, you can use all granulated sugar instead of the brown sugar and granulated sugar combination. The cookies will be a bit less chewy but still delicious.
No shortening? Use all butter instead (½ cup total). The cookies will spread a little more and have a richer butter flavor.
Chocolate lovers: Press a chocolate kiss into the center of each cookie right after baking for classic peanut butter blossom cookies, or fold in ½ cup of chocolate chips to the dough.
Gluten-free: Use a 1-to-1 gluten-free flour blend in place of the all-purpose flour.lso a great idea to link out to another blogger with a similar recipe that fits a different diet.
Equipment FOR Peanut Butter Cookies
You don't need much to make these cookies, which is part of their charm. An electric mixer makes the creaming process easier, but you can definitely do it by hand with a sturdy wooden spoon and a little elbow grease. You'll need a couple of mixing bowls, a standard cookie sheet, a fork for that iconic pattern, and a cooling rack. That's it. Simple tools for a simple recipe.
How to Store Peanut Butter Cookies
These Peanut Butter Cookies stay soft and chewy when stored properly. Let them cool completely, then stack them in an airtight container with parchment paper between layers if you're stacking them high. They'll keep at room temperature for up to 5 days.
You can also freeze the baked cookies for up to 3 months. Just let them thaw at room temperature for about 30 minutes before eating. If you want to freeze the dough instead, shape it into balls, freeze them on a baking sheet until solid, then transfer to a freezer bag. Bake from frozen, adding an extra minute or two to the baking time.
Serving Suggestions
These Peanut Butter Cookies are perfect on their own, but here are a few cozy ways to enjoy them:
With cold milk: The most traditional pairing. Dunk these soft peanut butter cookies in a glass of cold milk for the ultimate comfort snack.
Ice cream sandwiches: Let the cookies cool completely, then sandwich a scoop of vanilla or chocolate ice cream between two cookies. Wrap individually and freeze for an easy treat.
Alongside coffee or tea: The nutty sweetness pairs beautifully with your afternoon coffee or a warm cup of tea.
Crumbled over yogurt: Break up a cookie and sprinkle it over vanilla yogurt for a quick breakfast or snack with a little crunch.
Expert Tips
Don't skip the chilling: I know it's tempting to skip the 2-hour chill time, but cold dough is easier to shape and helps the cookies keep their thickness. Warm dough spreads too much and you'll end up with thin, flat cookies.
Use room temperature butter: Softened butter (not melted) creams better with the sugars and creates that light, fluffy texture. Leave it out for about 30 minutes before you start.
Don't overbake: These cookies continue cooking on the hot pan after you take them out of the oven. Pull them when they're just lightly golden on the edges, even if the centers look a bit soft.
Measure flour correctly: Spoon the flour into your measuring cup and level it off with a knife. Scooping directly from the bag packs too much flour in and makes the cookies dry.
Space them out: Give each cookie about 3 inches of space on the baking sheet. They spread as they bake and you don't want them running into each other.
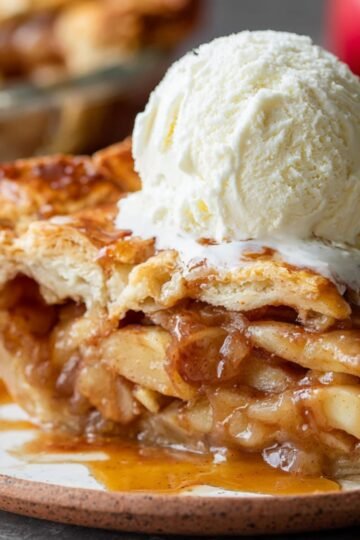
If you're looking for more easy dessert recipes to add to your rotation, my Easy Homemade Chocolate Cake Recipe is another family favorite that comes together quickly.
FAQ
The most common issues are cookies spreading too much (usually from warm dough or too much butter), cookies turning out dry (from overbaking or too much flour), or cookies being too crumbly (not enough moisture or fat). Make sure to chill your dough, measure ingredients carefully, and watch the baking time closely. A little tip from Grandma: if your cookies spread like crazy, pop the whole sheet in the fridge for 10 minutes before baking.
Your cookies are done when the edges are set and lightly golden brown, but the centers still look slightly soft or even a touch underdone. They'll firm up as they cool on the cookie sheet. If you wait until they look completely done in the oven, they'll be overbaked and dry. Trust the timing 9 to 10 minutes is usually just right.
Peanut butter cookies with that signature crisscross pattern became popular in the 1930s during the Great Depression because they were inexpensive to make. The fork pattern wasn't just decorative it helped flatten the dense dough so it would bake evenly. George Washington Carver promoted peanuts and peanut butter, but he didn't actually invent peanut butter cookies. They're a true American classic that's been loved for generations!
When stored in an airtight container at room temperature, these cookies stay fresh and soft for about 5 days. If you want to keep them longer, freeze them for up to 3 months. My mom always said the best way to keep cookies fresh is to add a slice of bread to the container it helps maintain moisture. Just remember to change the bread every couple of days.
Related
Looking for other recipes like this? Try these:


Pairing
These are my favorite dishes to serve with peanut butter cookies


Peanut Butter Cookies
Ingredients
Method
- In a large bowl, beat together granulated sugar, brown sugar, peanut butter, shortening, butter, and egg using an electric mixer on medium speed until smooth and creamy.

- Stir in flour, baking soda, baking powder, and salt until just combined. Be cautious not to overmix the dough to ensure a light and fluffy texture.
- Cover the dough with plastic wrap and refrigerate for about 2 hours or until firm. To test, roll a small amount into a ball it should hold its shape. If the dough is too soft, refrigerate for an additional 30 minutes.
- Preheat the oven to 375°F (190°C). Shape the dough into 1 ¼-inch balls and place them about 3 inches apart on an ungreased baking sheet. Keep the remaining dough balls chilled while baking to prevent them from spreading too much.
- Place additional sugar in a small bowl. Dip a fork in the sugar and press it into each cookie ball in a crisscross pattern, re-dipping the fork as needed to prevent sticking.
- Bake the cookies in the preheated oven for 9 to 10 minutes, or until the edges are lightly golden.
- Allow the cookies to cool on the baking sheet for 5 minutes before transferring them to a cooling rack.
- Let the cookies cool completely, about 30 minutes, before storing them in an airtight container.

Leave a Reply