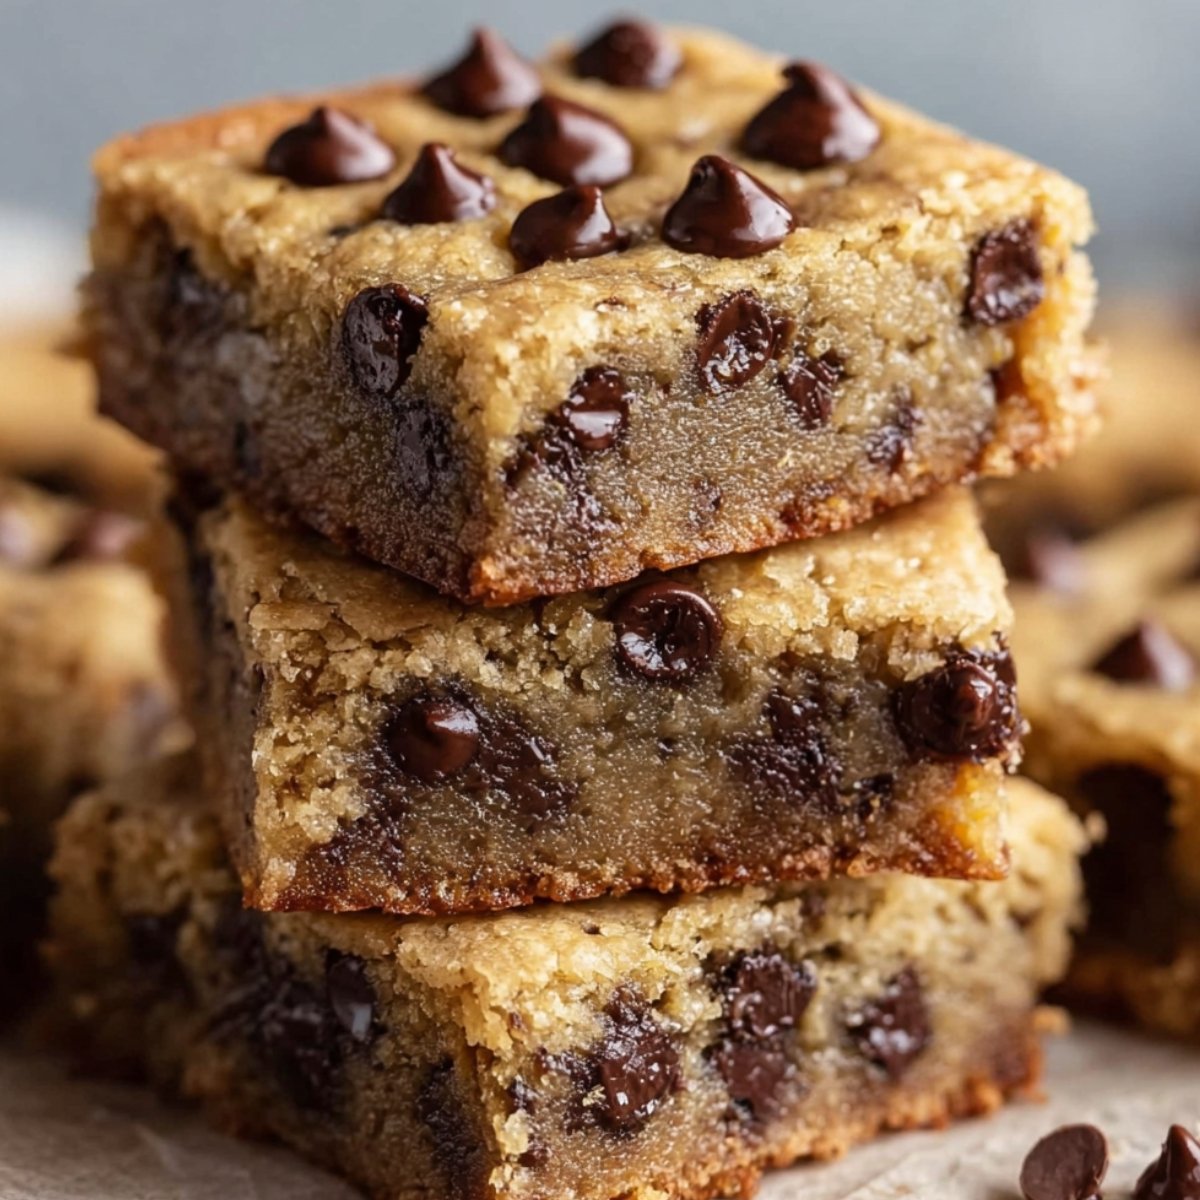
These thick, chewy Chocolate Chip Cookie Bars are loaded with melty chocolate chips and bake up with soft, gooey centers and slightly crisp edges. I made these one evening when I wanted chocolate chip cookies but didn't feel like scooping and baking batch after batch, and they turned out even better than I expected. You just mix everything in one bowl, spread it in a pan, and bake. The whole thing takes about 30 minutes from start to finish, which means you can have warm cookie bars ready faster than waiting for delivery.
If you love easy dinners, you'll also want to try my Greek Chicken Bowls and Cowboy Stew, and for something savory, my Chicken Bacon Ranch Quesadillas are always a hit.
Why You'll Love These Chocolate Chip Cookie Bars
Ready in 30 minutes. From mixing to eating, these bars come together faster than traditional cookies. No chilling, no scooping, no waiting between batches.
One bowl, one pan. Less cleanup means more time to enjoy the cookies. You don't need a stand mixer or any fancy equipment.
Perfectly chewy texture. The bars are soft and gooey in the center with slightly crisp edges. Every bite has that classic Chocolate Chip Cookie Bars flavor.
Great for sharing. Cut them into as many pieces as you need. They're perfect for parties, potlucks, or packing in lunchboxes.
Jump to:
Chocolate Chip Cookie Bars Ingredients
Here's everything you need to make these thick, chewy Chocolate Chip Cookie Bars.
See Recipe Card Below This Post For Ingredient Quantities
- Light brown sugar: Packed brown sugar adds moisture, chewiness, and a rich molasses flavor that makes these bars taste warm and comforting. It's the base of the sweetness and helps keep the bars soft.
- Unsalted butter: Melted butter makes the mixing process easy and adds a rich, buttery flavor. Using unsalted butter lets you control the salt level in the recipe.
- Eggs: Bind the ingredients together and add moisture. Room-temperature eggs mix in more easily and create a smoother batter.
- Vanilla extract: Adds a warm, sweet flavor that enhances the chocolate and brown sugar. Pure vanilla extract tastes best.
- All-purpose flour: Sifted flour creates the structure of the bars and keeps them tender without being too dense. Sifting prevents lumps and helps the flour mix in evenly.
- Salt: Balances the sweetness and enhances all the other flavors. It also makes the chocolate taste richer.
- Baking powder: Gives the bars a little lift so they're thick and fluffy instead of flat and dense.
- Baking soda: Works with the baking powder to help the bars rise and create a light, chewy texture.
- Semisweet or milk chocolate chips: These melt into gooey pockets of chocolate throughout the bars. You can use whichever type you prefer, or mix both for variety.
how to make Chocolate Chip Cookie Bars
- Preheat Oven & Prepare Pan: Preheat your oven to 350°F (175°C). Grease a 9×13-inch glass baking dish with butter or cooking spray so the bars don't stick. Set it aside while you mix the batter.
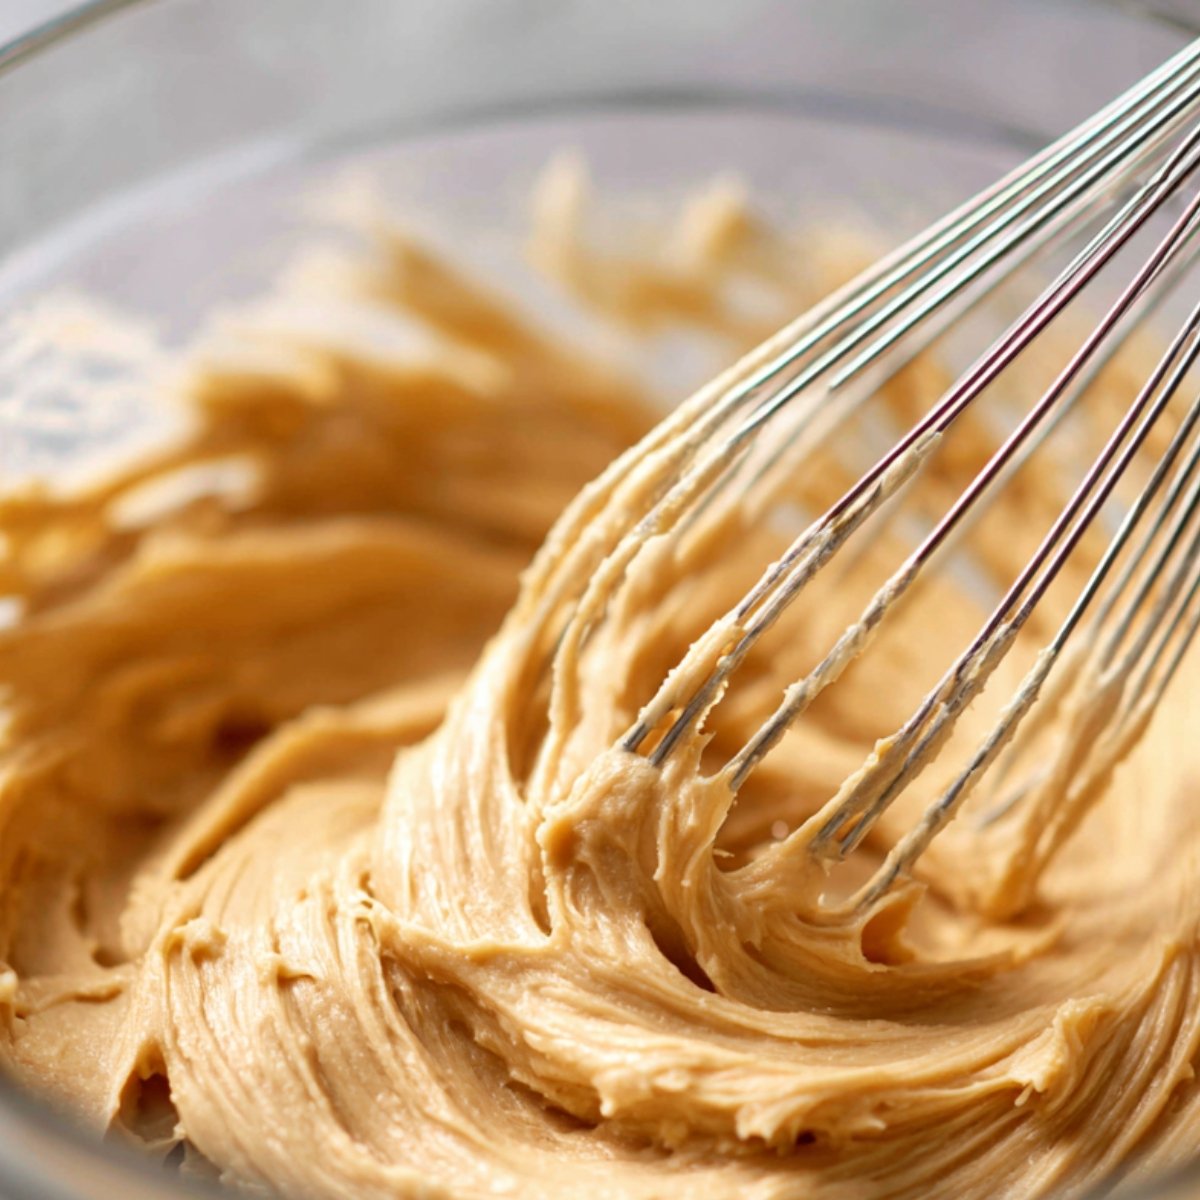
- Mix Wet Ingredients: In a medium bowl, combine the packed brown sugar, melted butter, eggs, and vanilla extract. Use a wooden spoon to mix everything together until smooth and well combined. The mixture should be thick and glossy.
- Add Dry Ingredients: Gradually stir in the sifted flour, salt, baking powder, and baking soda. Mix until the dry ingredients are fully incorporated and the batter is smooth. Don't overmix or the bars will be tough. Pour the batter into your prepared baking dish and spread it out evenly with a spatula.
- Add Chocolate Chips: Sprinkle the chocolate chips evenly over the top of the batter. They'll sink in slightly as they bake, creating pockets of melted chocolate throughout the bars.

- Bake the Bars: Bake for 24 to 28 minutes, until the surface looks slightly dull and the edges are lightly firm and starting to pull away from the sides of the pan. The center might still look a little soft, but it will firm up as it cools. If the center looks really undercooked, continue baking in 5-minute intervals until done. Don't overbake or the bars will be dry instead of chewy.
- Cool & Serve: Allow the bars to cool completely in the pan before cutting them into 15 servings. This helps them set and makes them easier to cut into clean squares. You can cut them warm if you want gooey, messy bars, but they hold together better when cool.
- Storage Tips: Store baked bars in an airtight container at room temperature for 3 to 4 days. You can also wrap unbaked dough in plastic wrap and refrigerate it for 1 to 2 days, or freeze it for up to 3 months. Thaw, press into the pan, and bake as directed. For longer storage, freeze baked bars in a Ziploc bag for 2 to 3 months.
Substitutions and Variations
Chocolate options: Use dark Chocolate Chip Cookie Bars for a richer flavor, white chocolate chips for something sweeter, or a mix of different chocolates.
Add nuts: Fold in chopped walnuts, pecans, or almonds for extra crunch and flavor.
Make them gluten-free: Use a 1-to-1 gluten-free flour blend in place of the all-purpose flour. The texture will be slightly different but still delicious.
Add oats: Stir in 1 cup of old-fashioned oats for a chewier texture and a hint of oatmeal cookie flavor.
Peanut butter swirl: Drop spoonfuls of peanut butter over the batter before baking and swirl it in with a knife.
Frosting: Let the bars cool completely, then spread your favorite frosting on top for an extra-indulgent treat.
Equipment
9×13-inch glass baking dish: The perfect size for thick, chewy bars. Glass bakes evenly and you can see when the edges start to pull away from the pan.
Medium mixing bowl: Large enough to mix all the ingredients without making a mess.
Wooden spoon or spatula: For stirring the batter and spreading it evenly in the pan.
Storage and Reheating Tips
Room temperature: Store baked bars in an airtight container at room temperature for 3 to 4 days. They stay soft and chewy.
Refrigerator: If you prefer firmer bars, you can refrigerate them. They'll keep for up to a week in the fridge.
Freezer: Wrap individual bars in plastic wrap or place them in a freezer-safe Ziploc bag. Freeze for 2 to 3 months. Thaw at room temperature or warm them in the microwave for a few seconds.
Make ahead: You can prepare the unbaked dough, wrap it tightly in plastic wrap, and refrigerate for 1 to 2 days or freeze for up to 3 months. When you're ready to bake, press the dough into the pan and bake as directed.
Reheating: Warm individual bars in the microwave for 10 to 15 seconds for that fresh-baked taste. You can also warm them in a low oven for a few minutes.
Serving Suggestions
With vanilla ice cream: Serve warm bars topped with a scoop of vanilla ice cream. The contrast of warm and cold is amazing.
With milk: Classic pairing that never gets old. The milk balances the sweetness and makes the chocolate taste even better.
As a dessert bar: Cut them into small squares and arrange them on a platter with other desserts like brownies or Red Velvet Brownies.
For breakfast: Okay, they're not exactly breakfast food, but a warm cookie bar with your morning coffee is a nice treat once in a while.
Expert Tips
Don't overbake. The bars should look slightly underdone in the center when you pull them out. They'll continue to cook as they cool and will be perfectly chewy.
Let them cool completely before cutting. This helps them set and makes clean, even squares. If you cut them warm, they'll be gooey and messy (which is delicious, but harder to serve).
Sift the flour. This prevents lumps and helps the flour mix in evenly, which creates a smoother batter and a better texture.
Use parchment paper for easy removal. Line the pan with parchment paper with some overhang on the sides. After the bars cool, you can lift the whole thing out and cut it on a cutting board.
FAQ
Don't overbake them. The Chocolate Chip Cookie Bars should look slightly underdone in the center when you pull them out of the oven. They'll firm up as they cool, but they'll stay soft and chewy inside. If you bake them until the center looks completely done, they'll end up dry and cakey instead of gooey. Also, storing them in an airtight container helps them stay soft for days.
Yes, these Chocolate Chip Cookie Bars freeze beautifully. You can freeze the unbaked dough wrapped tightly in plastic wrap for up to 3 months, then thaw and bake when you're ready. Or you can freeze the baked bars individually wrapped or in a freezer-safe bag for 2 to 3 months. Thaw them at room temperature or warm them in the microwave for a few seconds.
Absolutely. Use a 1-to-1 gluten-free flour blend in place of the all-purpose flour. The texture might be slightly different, but the bars will still be delicious and chewy. Make sure your baking powder and baking soda are gluten-free, and check that your Chocolate Chip Cookie Bars don't contain any gluten either.
Sprinkling the Chocolate Chip Cookie Bars chips on top of the batter instead of mixing them in helps prevent sinking. The chips sit on the surface and melt into the bars as they bake, creating pockets of chocolate throughout. If you prefer to mix them into the batter, toss them in a little bit of flour first to help them stay suspended.
Related
Looking for other recipes like this? Try these:


Pairing
These are my favorite dishes to serve with Chocolate Chip Cookie Bars


Chocolate Chip Cookie Bars
Ingredients
Method
- Preheat the oven to 350°F (175°C) and grease a 9x13-inch baking dish or line it with parchment paper.
- In a medium bowl, combine brown sugar, melted butter, eggs, and vanilla extract. Mix thoroughly with a wooden spoon until smooth.
- Gradually stir in sifted flour, salt, baking powder, and baking soda until the batter is well combined.
- Pour the batter evenly into the prepared baking dish.
- Sprinkle chocolate chips evenly over the top.
- Bake in the preheated oven for 24–28 minutes, or until the surface looks set and edges start to pull slightly away from the pan.
- Allow the bars to cool completely in the pan before slicing into 15 squares.
Leave a Reply