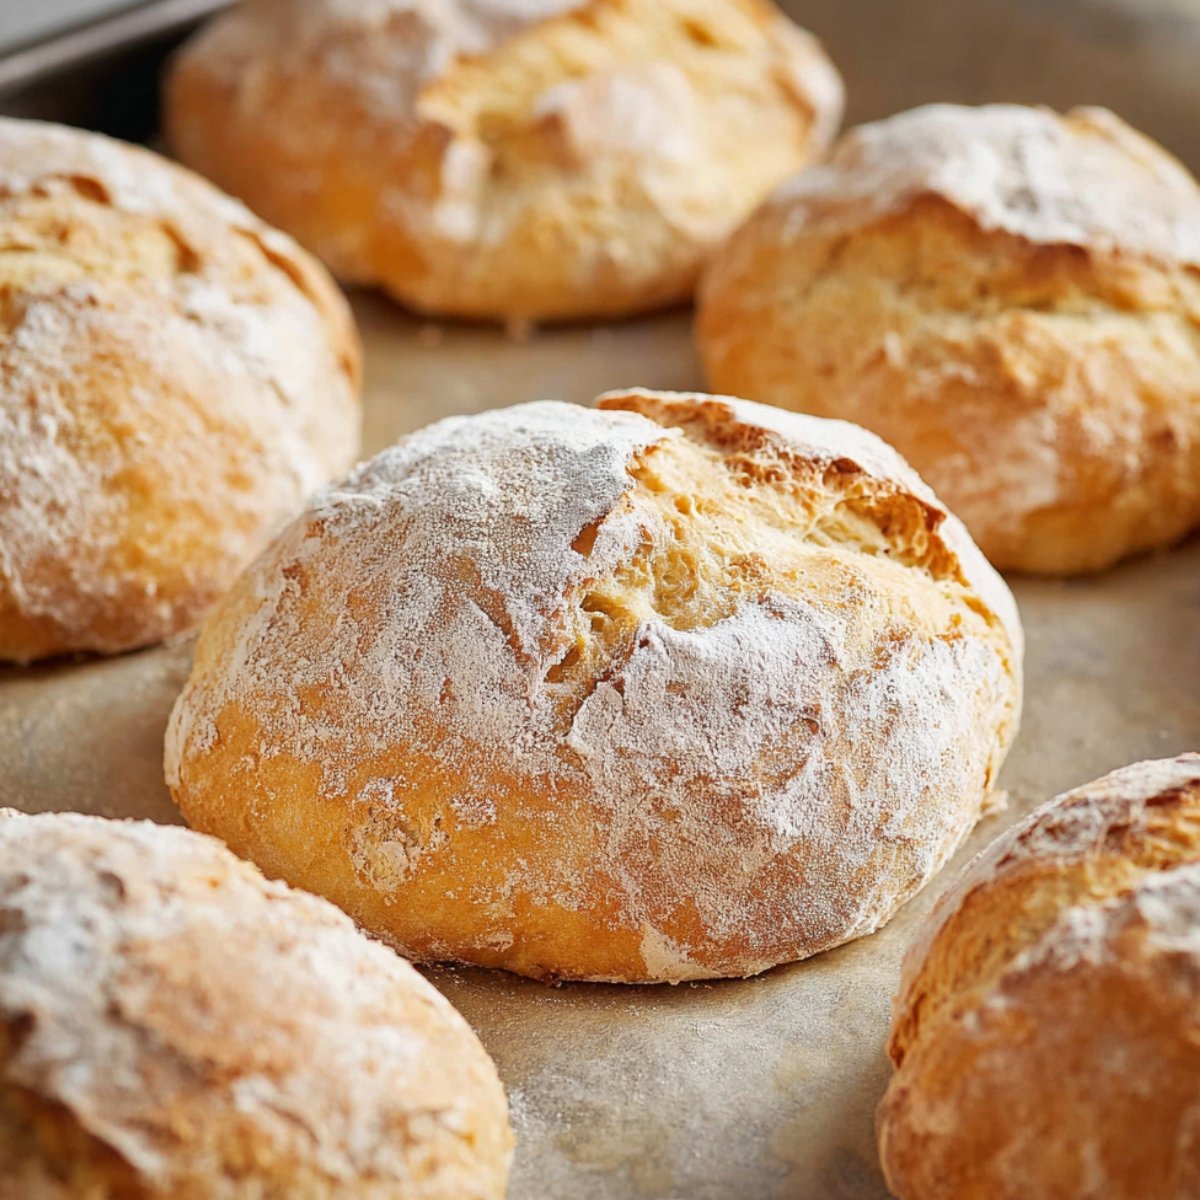
There's nothing quite like pulling a tray of golden, crusty panini bread from your oven, the smell filling your kitchen like a little Italian bakery just opened in your home. These soft, airy rolls with their crackling crust are perfect for loading up with your favorite sandwich fillings or serving warm alongside a bowl of soup. I first made these on a rainy Saturday when I wanted something cozy and comforting, and I couldn't believe how simple they were. No fancy equipment, no kneading, just mix, rest, and bake.
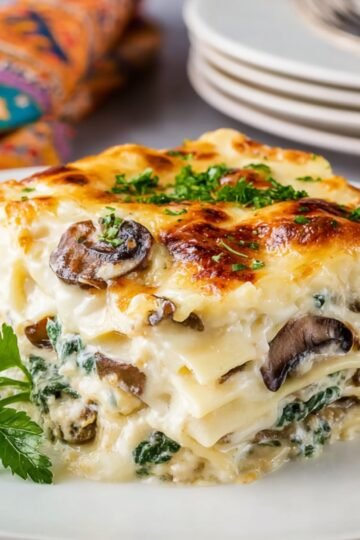
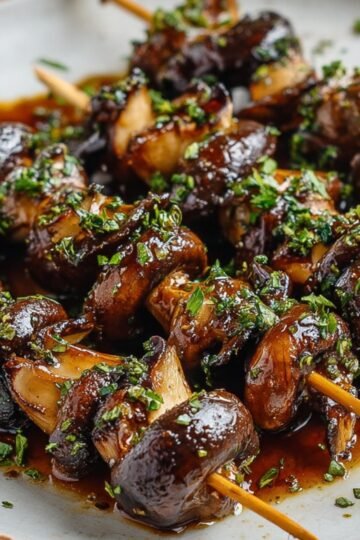
If you love homemade bread but think it's too complicated, this recipe will change your mind. Pair these rolls with Grilled Mushroom Skewers for a light lunch, or use them to make the ultimate Steak Burrito wrap, or serve them next to Italian Pot Roast for a complete Italian-inspired dinner.
Why You will Love This Panini Bread
This homemade panini bread is a game changer. The rolls come out with a beautiful golden crust and a soft, pillowy center that's perfect for sandwiches. You don't need a stand mixer or any kneading, which means less mess and less work.
The dough comes together in minutes, and the whole process takes about an hour from start to finish. These Italian bakery bread rolls are versatile too. Use them for grilled paninis, slice them for breakfast toast, or serve them warm with butter. They're beginner-friendly, budget-friendly, and taste like you spent all day in the kitchen when you really didn't.
Jump to:
Panini Bread Ingredients
Here's a simple intro to what you'll need for this easy bread rolls recipe.
See Recipe Card Below This Post For Ingredient Quantities
- Lukewarm water: Activates the yeast and brings the dough together. The water should feel warm to the touch but not hot, or it can kill the yeast.
- Active dry yeast or instant yeast: This is what makes the dough rise and gives the bread its airy texture. Active dry yeast needs to be activated in water first, while instant yeast can go straight into the flour.
- Sugar: Feeds the yeast and helps it foam up during activation. Just a small amount is needed.
- Unbleached all-purpose flour: Forms the structure of the rolls. All-purpose flour gives you a soft crumb with a slightly chewy texture.
- Fine salt: Balances the flavor and strengthens the dough. Don't skip it, even though the amount seems small.
- Olive oil: Adds richness and keeps the rolls tender. It also gives a subtle Italian flavor that makes these rolls taste authentic.
how to make Panini Bread
These easy steps will guide you through making perfect homemade Italian bread.
- Activate yeast: In a jug or small bowl, mix the lukewarm water, yeast, and sugar. Let it sit for about 5 minutes until it becomes foamy and bubbly on top. This means your yeast is alive and ready to work. If you're using instant yeast, you can skip this step and add it directly to the flour.
- Combine dry ingredients: In a large mixing bowl, whisk together the flour and salt until evenly distributed.
- Incorporate wet ingredients: Pour the yeast mixture and olive oil into the dry ingredients. Use a spoon or spatula to mix everything until no dry flour remains and the dough looks shaggy and sticky. If the dough feels too stiff, add a tablespoon of water at a time until it comes together.

- First rise: Cover the bowl with a damp kitchen towel or cling film. Place it in a preheated oven set to 250°F (120°C), then turn the oven off immediately. Let the dough rest in the warm oven for 30 to 40 minutes until it puffs up and looks airy.
- Prepare for baking: Remove the dough from the oven and preheat your oven to 440°F (220°C). Line a large baking sheet with parchment paper.
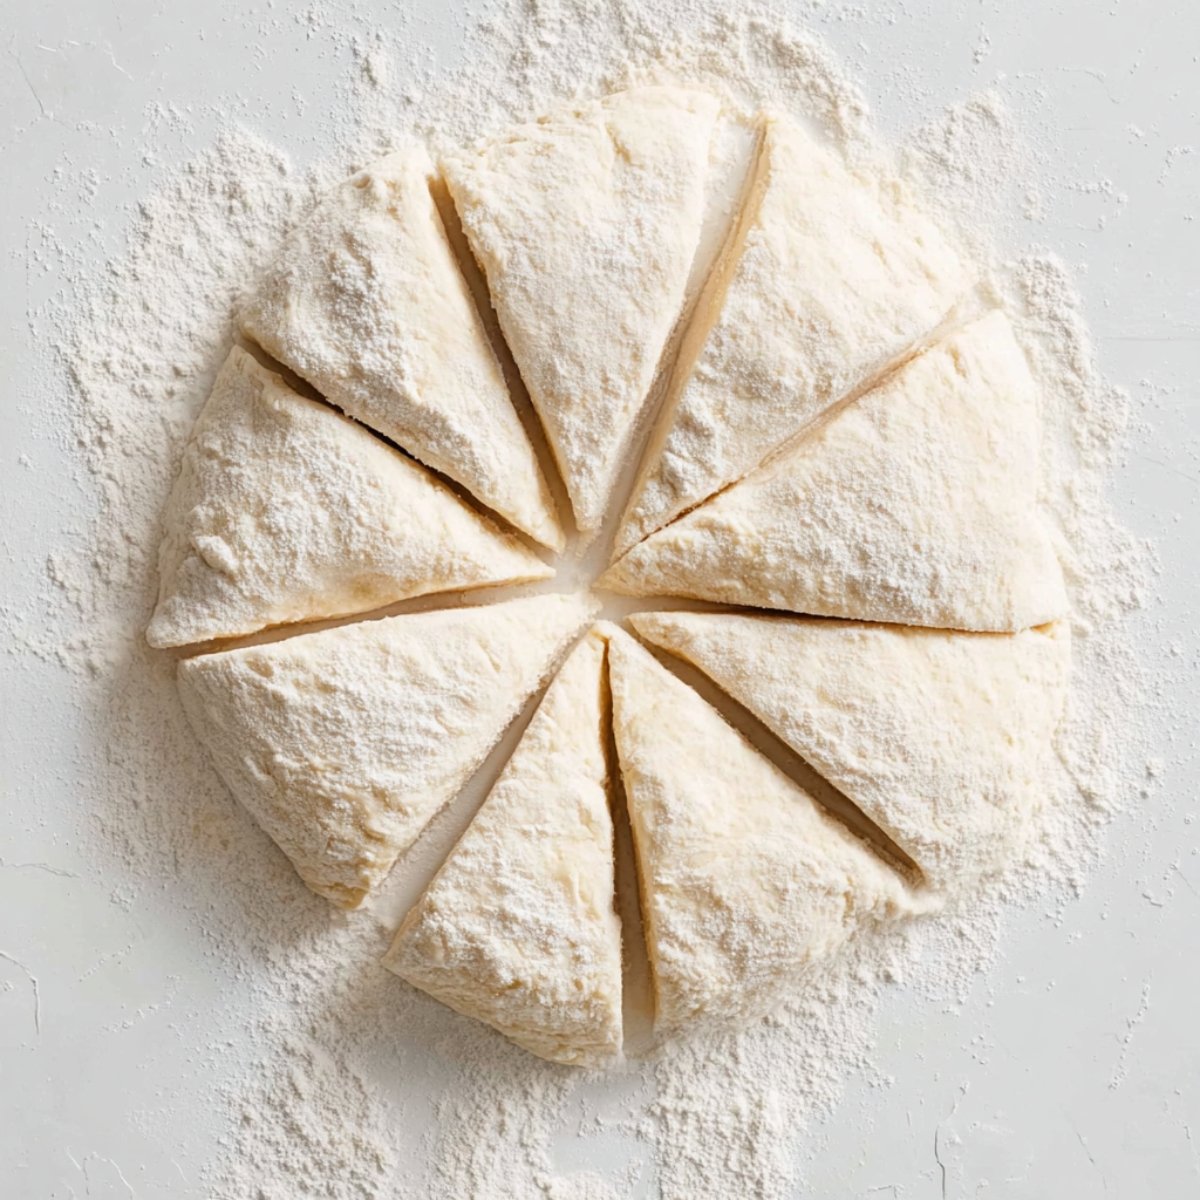
- Shape rolls: Turn the dough out onto a floured surface. Dust the top with a little flour and use a dough scraper or large knife to divide it into 10 equal pieces. Gently roll each piece into a round shape, adding more flour as needed to prevent sticking. Place the rolls on the prepared baking sheet with a little space between them.
- Bake: Bake for 20 to 25 minutes until the rolls turn golden brown and sound hollow when tapped on the bottom. The crust should be crisp and the inside soft. Serve warm for the best flavor and texture.
Substitutions and Variations
This recipe is flexible and easy to adapt.
Flour: You can use bread flour instead of all-purpose flour for a slightly chewier texture. Whole wheat flour can replace up to half of the all-purpose flour for a heartier roll.
Yeast: If you don't have active dry yeast, instant yeast works perfectly. Just add it straight to the flour without activating it first.
Olive oil: Swap it with melted butter or vegetable oil if that's what you have on hand.
Herbs and seasonings: Mix in dried herbs like rosemary, oregano, or basil into the dough for a flavor boost. You can also brush the tops with garlic butter before baking.
Shaping: Instead of round rolls, shape the dough into longer oval shapes for traditional panini bread or flatten them slightly for a more rustic look.
Equipment
You don't need much to make this recipe. A large mixing bowl, a jug or small bowl for the yeast, and a spoon or spatula are the basics. You'll also need a damp kitchen towel or cling film to cover the dough, a baking sheet, parchment paper, and a dough scraper or large knife for dividing the dough. Measuring cups and spoons or a kitchen scale will help you get accurate measurements.
Storage and Reheating Tips
Store the cooled panini rolls in an airtight container or a zip-top bag at room temperature for up to 3 days. For longer storage, freeze them in a freezer-safe bag for up to 3 months. To reheat, wrap a roll in foil and warm it in a 350°F oven for about 10 minutes, or slice and toast it. You can also microwave a roll for 15 to 20 seconds, but the crust won't stay as crispy.
Serving Suggestions
These rolls are perfect for making grilled panini sandwiches. Fill them with mozzarella, tomatoes, and basil, or load them up with deli meats and cheese. They're also delicious served warm with butter alongside Authentic Mexican Rice or a hearty bowl of soup. Slice them open and use them for breakfast sandwiches with eggs and bacon, or serve them with Asian Cucumber Salad for a light, fresh pairing. They're great for dipping into olive oil and balsamic vinegar too.
Expert Tips
Make sure your water is lukewarm, not hot. Water that's too hot will kill the yeast, and your dough won't rise. Test it with your finger. It should feel warm and comfortable, like bathwater.
Don't skip the resting time in the warm oven. This gentle heat helps the dough rise faster and gives the rolls their airy texture.
Use parchment paper on your baking sheet. It prevents sticking and makes cleanup so much easier.
If you want a crispier crust, place a shallow pan of water on the bottom rack of the oven while baking. The steam creates a bakery-style crust.
Let the rolls cool for a few minutes before slicing. If you cut them too soon, they can turn gummy inside.
FAQ
Paninis are typically made with Italian rolls, ciabatta, or focaccia. These breads have a soft interior and a sturdy crust that holds up well to grilling and pressing. This recipe gives you soft and crusty panini rolls that work perfectly for sandwiches.
Panini bread has a crisp, golden crust and a light, airy crumb. It's sturdier than sandwich bread, so it doesn't get soggy when filled with moist ingredients. Regular sandwich bread is softer and more tender, which can fall apart under pressure or heat.
Not exactly. Ciabatta is a type of Italian bread with a rustic, open crumb and a chewy crust. Panini refers to sandwiches, not a specific bread type. Ciabatta is often used to make paninis, but panini bread can also refer to rolls like the ones in this recipe.
Paninis can fit into a diabetic diet if made with whole grain bread and filled with lean proteins and vegetables. White panini bread like this recipe is higher in carbohydrates, so portion control is important. Pairing it with protein and fiber-rich fillings can help manage blood sugar levels better.
Related
Looking for other recipes like this? Try these:


Pairing
These are my favorite dishes to serve with Panini Bread


Panini Bread
Ingredients
Method
- Combine the lukewarm water, yeast, and sugar in a small bowl and let it sit until foamy, about 5 minutes.
- In a large bowl, whisk together the flour and salt until evenly mixed.
- If using instant yeast, sprinkle it directly over the flour instead of dissolving in water.
- Pour the yeast mixture into the flour mixture, add the olive oil, and stir with a spatula until a sticky dough forms.
- Cover the bowl with a damp towel or plastic wrap and place in a warm spot to rise for 30–35 minutes until the dough has puffed up.
- Lightly flour your work surface and gently transfer the dough onto it. Do not deflate; keep the air pockets intact.
- Dust the top of the dough with flour, then use a bench scraper or knife to divide it into 10 equal portions.
- Roll each portion gently into a small oval or round roll, adding flour to hands and surface as needed to prevent sticking.
- Place the rolls on a baking sheet lined with parchment paper, leaving space between them.
- Preheat the oven to 440°F/220°C, then bake the rolls for 20–25 minutes until golden brown and crusty.
- Remove the rolls from the oven and let them cool slightly before serving.


Leave a Reply