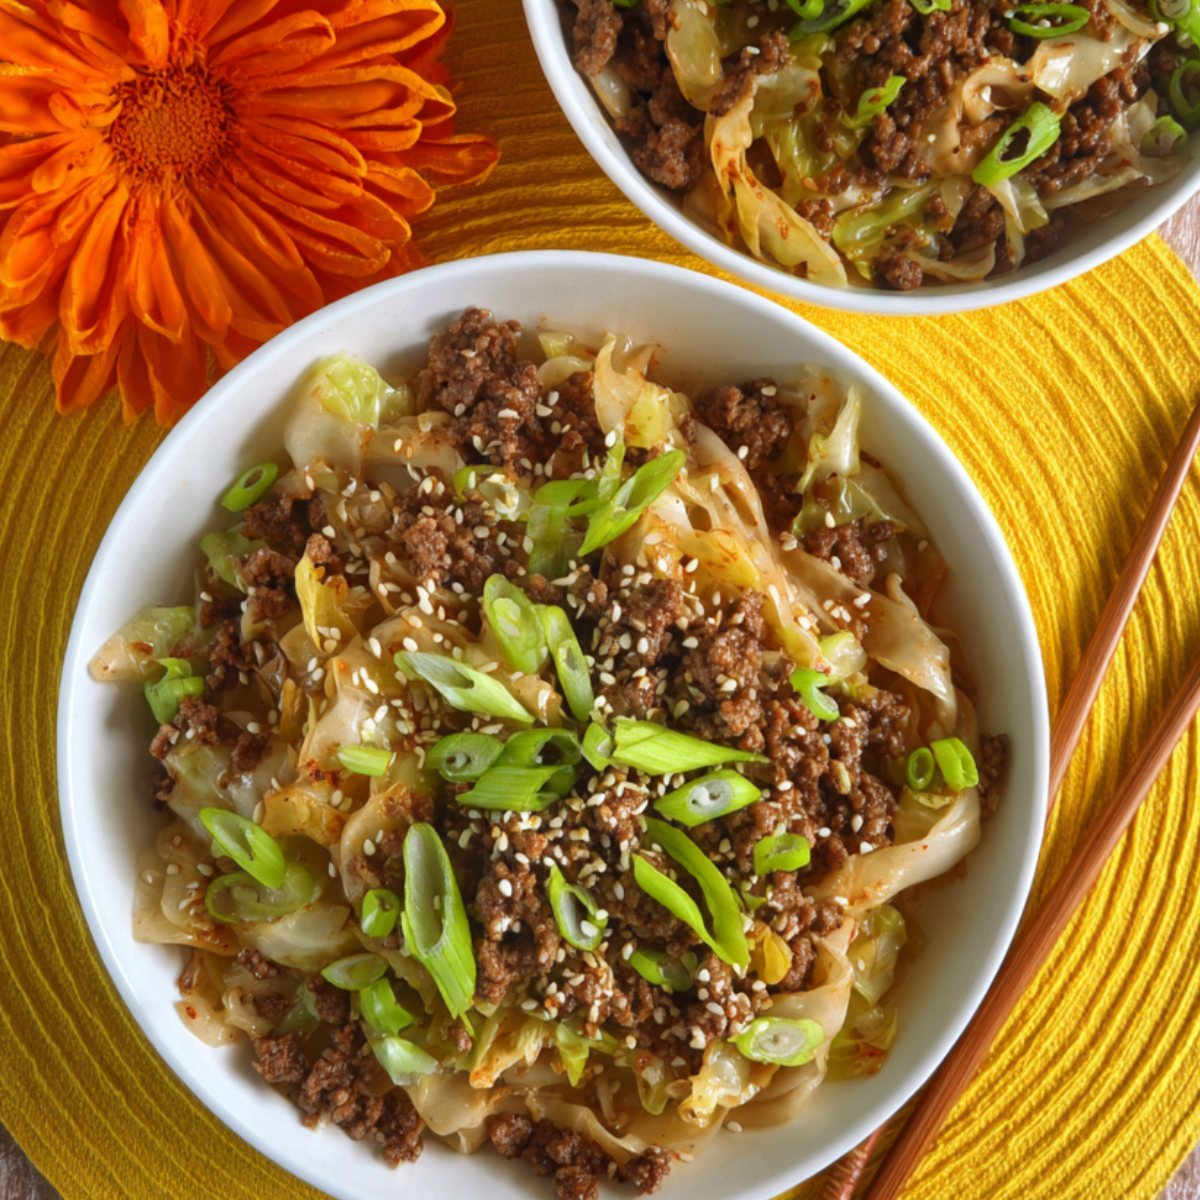
This low-carb Mongolian ground beef and cabbage is loaded with savory beef, tender cabbage, and a rich sweet-and-tangy sauce that tastes just like takeout—but it's ready in just 20 minutes and made in one skillet. I first made it on a busy Tuesday night when I wanted something quick, healthy, and full of flavor, and it's been a weeknight staple ever since. The sauce is thick and glossy, the cabbage gets tender and slightly caramelized, and the garlic, ginger, and sesame oil give it that bold, Asian-inspired flavor.
If you love quick, one-pan dinners, you'll also enjoy my Chicken Shawarma and Big Mac Wraps for easy weeknight meals that come together fast.
Why You will Love This Mongolian Ground Beef and Cabbage
This recipe is everything you want in a weeknight dinner: it's quick, healthy, packed with flavor, and made with simple ingredients you probably already have. The ground beef stays juicy and flavorful, the cabbage adds a slight sweetness and tender crunch, and the sauce is the perfect balance of savory, sweet, and tangy. It's low-carb and gluten-free if you use tamari instead of soy sauce, and it's perfect on its own or served over cauliflower rice for an extra-filling meal.
Jump to:
Mongolian Ground Beef and Cabbage Ingredients
Here's everything for the beef, cabbage, and sweet-and-tangy sauce.
See Recipe Card Below This Post For Ingredient Quantities
- Ground beef: One pound cooks quickly and stays juicy. Use 80/20 or 85/15 for the best flavor. You can also use ground turkey or chicken for a lighter option.
- Cabbage: Half a head gets chopped into bite-sized pieces. It adds texture, sweetness, and extra vegetables to the dish.
- Sesame oil: Adds a nutty, toasted flavor that's essential to Asian-inspired dishes.
- Garlic: Eight cloves add bold, savory flavor. Don't skimp on the garlic—it makes the dish.
- Ginger: Adds a warm, slightly spicy, aromatic flavor that complements the garlic and sesame oil.
- Red pepper flakes: Add a gentle heat. You can adjust the amount based on your spice preference.
- Brown sugar swerve: A low-carb sweetener that adds sweetness without the extra carbs. You can also use regular brown sugar if you're not worried about carbs.
- Low-sodium soy sauce: Forms the base of the sauce and adds salty, umami flavor. Use tamari for a gluten-free option.
- Hoisin sauce: Adds sweetness, depth, and a slightly tangy flavor that makes the sauce taste like takeout.
- Beef broth: Helps create the sauce and adds savory depth.
- Cornstarch: Thickens the sauce so it coats the beef and cabbage beautifully.
- Green onions: Add a mild onion flavor and a pop of color.
- Sesame seeds: Add a nutty crunch and make the dish look prettier.
How to Make Mongolian Ground Beef and Cabbage
Follow these steps for savory beef, tender cabbage, and a thick, flavorful sauce.
- Prep the cabbage: Chop half a head of cabbage into bite-sized pieces and set it aside.
- Brown the beef: Heat the sesame oil in a large skillet over medium-high heat. Once the oil is hot, add the ground beef and cook for 5 to 7 minutes, breaking it apart with a spatula or wooden spoon, until it's browned and cooked through. If there's excess fat in the pan, drain it off.
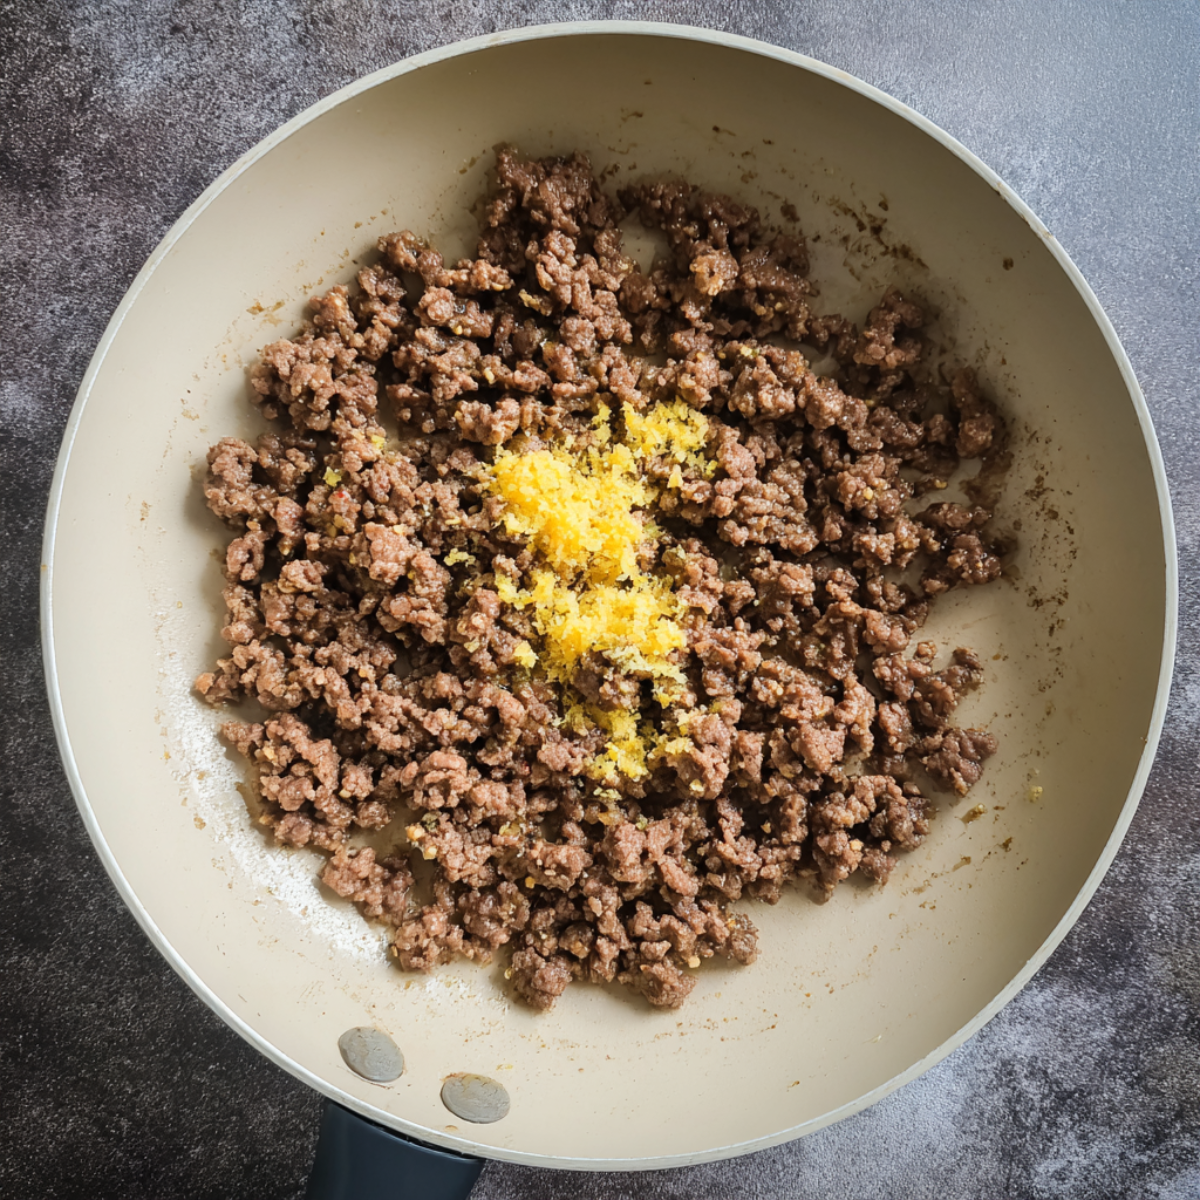
- Sauté the aromatics: Push the beef to one side of the skillet. Add the minced garlic and ginger to the center of the pan and cook for 1 to 2 minutes, stirring constantly, until they're fragrant and lightly golden. Be careful not to burn them.
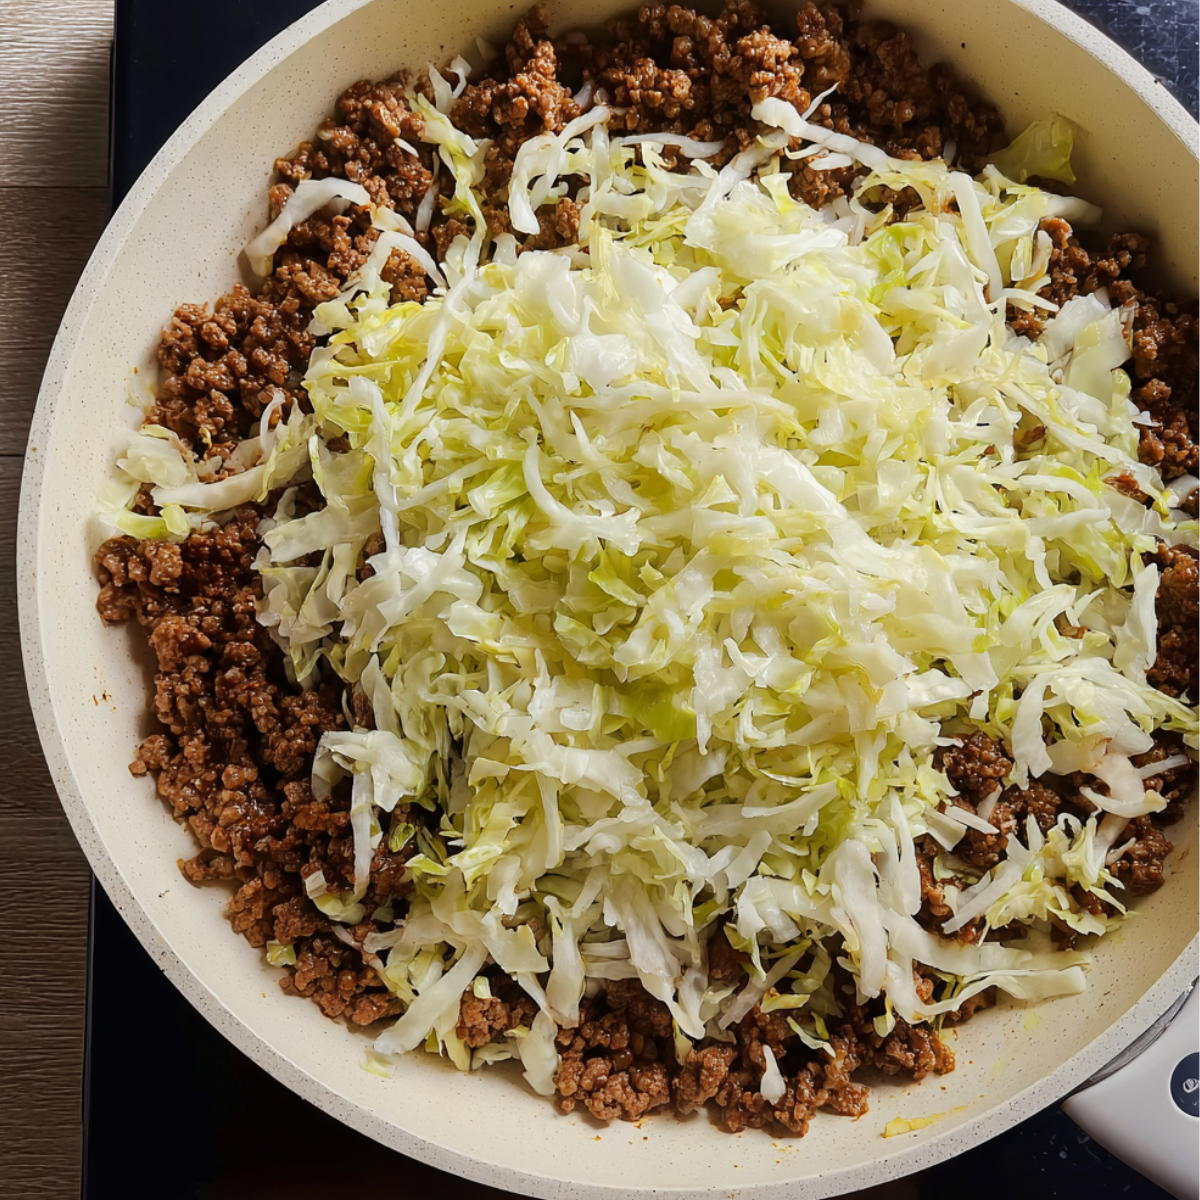
- Cook the cabbage: Add the chopped cabbage to the skillet and mix it with the beef and aromatics. Sprinkle the red pepper flakes over the mixture. Cook for about 5 minutes, stirring occasionally, until the cabbage begins to soften and wilt.
- Make the sauce: In a medium bowl, combine the soy sauce, hoisin sauce, and brown sugar swerve. Stir until everything is well mixed.
- Prepare the slurry: In a small bowl, mix the cornstarch with the beef broth, stirring until the cornstarch is fully dissolved. This is your thickening agent. Add the cornstarch slurry to the sauce mixture and stir well.
- Combine and thicken: Pour the sauce over the beef and cabbage in the skillet. Stir everything together to coat evenly. Cook for 2 to 3 minutes, stirring frequently, until the sauce thickens and becomes glossy.
- Finish: Stir in the diced green onions and cook for 1 additional minute to let them soften slightly.
- Serve: Optionally sprinkle sesame seeds on top. Serve hot on its own, or over cauliflower rice for a low-carb, filling meal. Taste and adjust the seasoning with extra soy sauce or red pepper flakes if needed.
Substitutions and Variations
Here are a few simple swaps and add-ins to make this dish your own.
Ground beef: Use ground turkey, chicken, pork, or even plant-based ground meat for a lighter or vegetarian option.
Cabbage: Swap it for bok choy, napa cabbage, or even shredded Brussels sprouts for a different flavor and texture.
Brown sugar swerve: Use regular brown sugar, coconut sugar, or honey if you're not worried about carbs.
Soy sauce: Use tamari for a gluten-free version, or coconut aminos for a soy-free, paleo-friendly option.
Hoisin sauce: Skip it and add an extra tablespoon of soy sauce and a teaspoon of molasses or honey for sweetness.
Add vegetables: Toss in bell peppers, snap peas, broccoli, or mushrooms for extra nutrition and color.
Make it spicier: Add more red pepper flakes, a drizzle of sriracha, or diced jalapeños.
Serve it over rice: If you're not low-carb, serve it over jasmine rice, brown rice, or fried rice for a heartier meal.
Add noodles: Toss in cooked lo mein noodles or rice noodles for a Mongolian beef noodle bowl.
Equipment
Here's what makes this recipe come together smoothly.
- Large skillet: A 12-inch skillet or larger works best for cooking the beef and cabbage without overcrowding.
How to Store Mongolian Ground Beef and Cabbage
This dish stores well and reheats beautifully.
Refrigerator: Store leftovers in an airtight container for up to 4 days. The sauce will thicken as it cools, so you may want to add a splash of beef broth when reheating.
Freezer: Freeze the beef and cabbage mixture in a freezer-safe container for up to 3 months. Thaw in the fridge overnight before reheating.
Reheating: Warm it gently in a skillet over medium heat, stirring frequently, until heated through. You can also reheat it in the microwave in 1-minute intervals, stirring between each one.
Serving Suggestions
This Mongolian ground beef and cabbage is delicious on its own, but here are a few ways to round it out.
- Serve it over cauliflower rice, jasmine rice, or brown rice for a filling, complete meal.
- Pair it with a simple cucumber salad or a side of steamed edamame.
- Add a fried egg on top for extra protein and richness.
- Serve it in lettuce wraps for a fun, low-carb presentation.
If you're planning a quick weeknight dinner spread, this pairs wonderfully with my Loaded Scrambled Eggs or Smoked Cheese Stuffed Meatballs for a comforting, flavorful meal.
Expert Tips
Here's what I've learned after making this dish many times.
Use fresh garlic and ginger: Fresh is so much better than jarred or powdered. The flavor is brighter and more aromatic.
Don't overcook the cabbage: You want it tender but still with a little bite. Overcooked cabbage gets mushy and loses its texture.
Make the slurry ahead: Mix the cornstarch and beef broth together before you start cooking so it's ready to go.
Stir frequently once you add the sauce: This prevents the sauce from burning or sticking to the bottom of the pan.
Adjust the sweetness: If you prefer a less sweet sauce, cut the brown sugar swerve in half or skip it entirely.
Taste and adjust: The soy sauce and hoisin sauce are both salty, so taste the dish before adding extra salt.
Drain the beef if needed: If your ground beef is very fatty, drain off some of the excess fat before adding the cabbage so the dish doesn't get greasy.
Meal prep friendly: This dish is perfect for meal prep. Make a big batch on Sunday and reheat it throughout the week.
FAQ
Mongolian beef sauce is made with soy sauce, hoisin sauce, brown sugar, garlic, ginger, and sometimes beef broth. It's thickened with cornstarch to create a glossy, sticky sauce that coats the beef and vegetables. The sauce is savory, sweet, and slightly tangy.
Yes! Cabbage and ground beef are a classic combination. The cabbage adds sweetness, texture, and extra vegetables, while the beef provides protein and savory flavor. They work beautifully together in stir-fries, casseroles, and skillet meals like this one.
Mongolian beef pairs well with rice (white, brown, or cauliflower), noodles, steamed vegetables, or lettuce wraps. It's also great on its own as a low-carb meal. Side dishes like cucumber salad, edamame, or egg rolls also complement it nicely.
The secret to tender Mongolian beef is slicing the beef thinly against the grain and cooking it quickly over high heat. For ground beef, the key is not overcooking it and making sure the sauce is thick enough to coat the meat without drying it out.
Related
Looking for other recipes like this? Try these:


Pairing
These are my favorite dishes to serve with Mongolian Ground Beef and Cabbage


Mongolian Ground Beef and Cabbage
Ingredients
Method
- Chop the cabbage into bite-sized pieces and set aside.
- Heat 1 tablespoon sesame oil in a large skillet over medium-high heat.
- Add ground beef and cook 5–7 minutes, breaking it apart, until browned and cooked through. Drain excess fat if needed.
- Push beef to the side of the skillet. Add minced garlic and ginger to the center and cook 1–2 minutes until fragrant, stirring constantly.
- Add chopped cabbage to the skillet, mixing it with beef, garlic, and ginger. Sprinkle red pepper flakes over the mixture. Cook about 5 minutes until cabbage softens slightly.
- In a medium bowl, combine soy sauce, hoisin sauce, and brown sugar.
- In a small bowl, whisk together beef broth and cornstarch until smooth.
- Pour cornstarch slurry into the sauce mixture and stir to combine.
- Pour sauce over beef and cabbage in the skillet. Stir to coat evenly and cook 2–3 minutes until sauce thickens.
- Add diced green onions and cook 1 additional minute.
- Optionally, sprinkle sesame seeds over the top before serving.


Leave a Reply